A replacement pump can fail again when the original problem is in the reservoir, suction line, fluid condition or startup procedure. Diagnose the inlet side before blaming the pump.
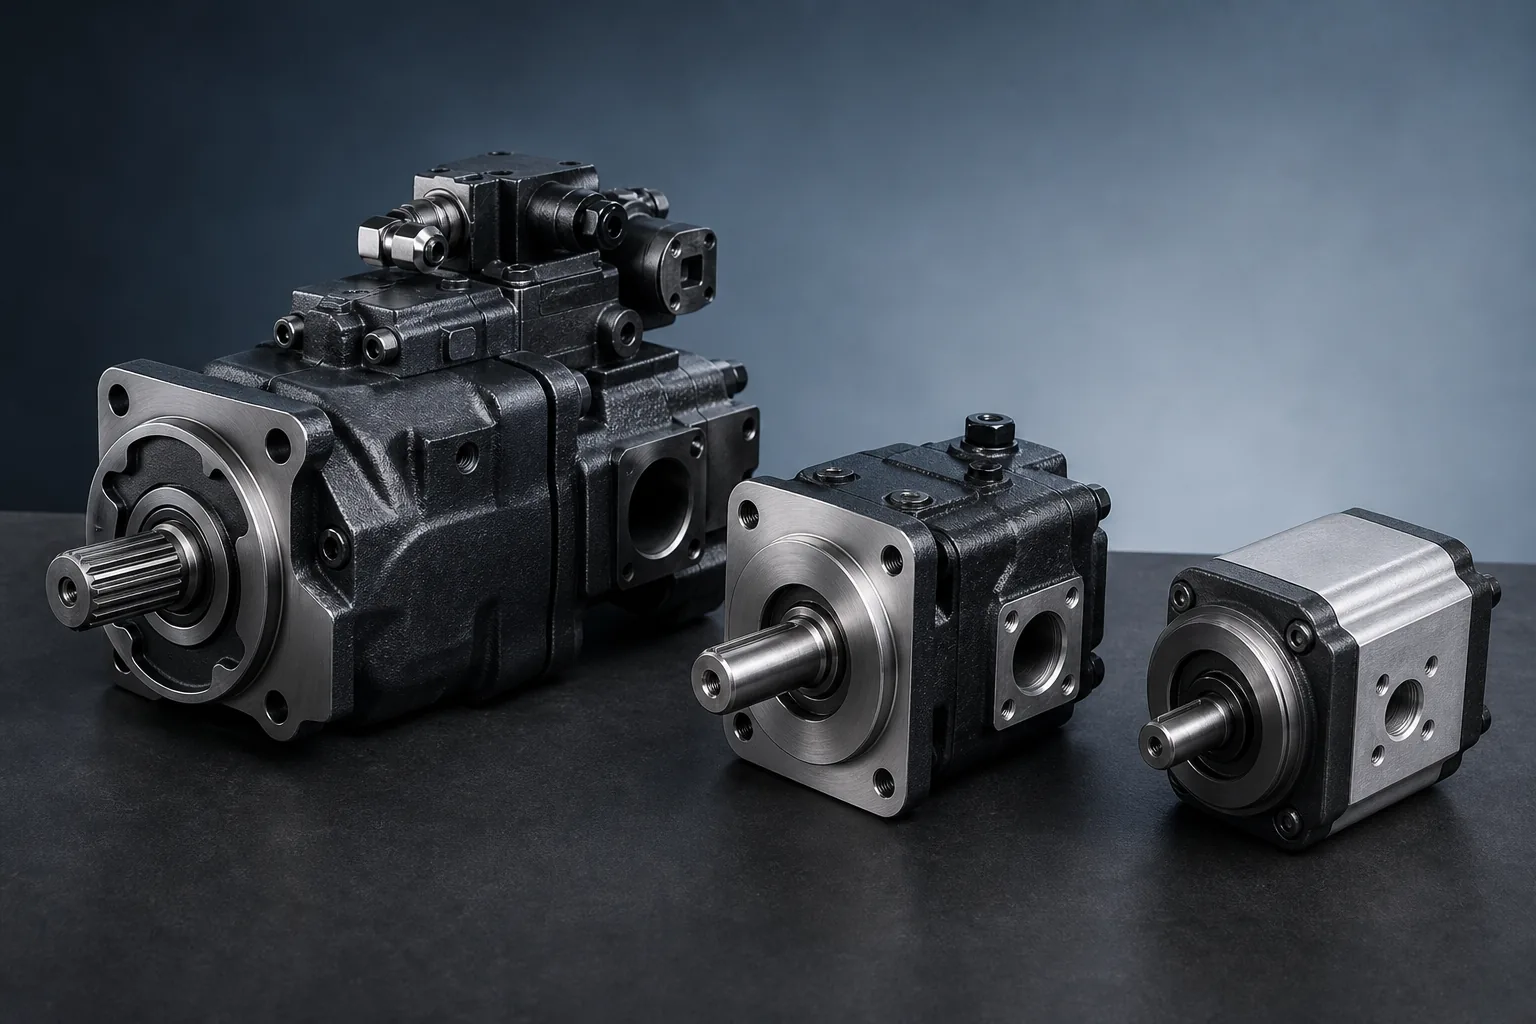
Send the original reference: Include the complete model code, quantity, destination and available photos or drawings.
Cavitation, aeration or mechanical noise?
| Observation | Possible cause | Initial check |
|---|---|---|
| High-pitched whine that rises with speed | Restricted inlet or excessive vacuum | Filter, hose, valve and fluid viscosity |
| Foamy or cloudy oil | Air entering the suction side or poor deaeration | Loose fittings, damaged hose and reservoir return |
| Knocking under load | Cavitation, pressure ripple or internal damage | Inlet condition, pressure and case drain |
| Slow response when cold | Fluid too viscous or inlet path restricted | Oil grade, temperature and suction loss |
| Hot pump and dark oil | Internal leakage, excessive load or continuing cavitation | Efficiency, pressure, cooling and contamination |
Suction-side inspection sequence
- Confirm oil level and reservoir breather condition
- Check fluid grade, viscosity and operating temperature
- Inspect the suction hose for collapse, softening or internal separation
- Open and verify every suction valve
- Check strainers and filters against the pump manufacturer’s guidance
- Inspect fittings, clamps and shaft-seal areas for air entry
- Confirm that the inlet is not exposed to return-flow turbulence
Measure instead of guessing
Record inlet pressure or vacuum at the pump under cold start, normal temperature and peak demand. Compare the result with the pump manufacturer’s permitted inlet conditions. Do not copy a universal vacuum limit from an unrelated pump.
Case-drain evidence for piston pumps
- Measure case-drain flow only with the correct procedure and safe equipment
- Confirm drain-line size and back pressure
- Check that the drain reaches the reservoir as required
- Use trend changes with temperature and load as diagnostic evidence
- Do not treat one number as proof without the model’s test criteria
Before installing a replacement
- Find and correct the probable failure cause
- Flush or clean the circuit to the agreed contamination target
- Pre-fill or prime where the manufacturer requires it
- Confirm rotation before startup
- Use a controlled low-load startup and monitor noise, pressure and temperature
- Retain oil, filter and inspection evidence for a warranty review